Cloudflare Tunnel & Ngrok Alternative: Entra Application Proxy Guide
It's 10pm, you're about to fall asleep, you get a notification on Twitter that informs you of a new CVSS 10 vulnerability that affects your company's PaloFortiJuniIvanti VPN appliance. Maybe it's time to look closer at some ZTNA solutions...
For organisations that self-host critical business applications, the traditional strategy of merely exposing a VPN appliance and requiring users to connect to an internal network to access those applications is increasingly questionable as of late:


But what is the alternative? Zero Trust Network Access (ZTNA) solutions such as Cloudflare Tunnel or ngrok which include pre-authentication are a pretty compelling options with quite a few benefits:
- Outbound-only connections ensures that no ports are exposed on your internet-facing attack surface. Controls like this make it very difficult for us in penetration tests.
- Pre-authentication requires attackers to bypass this layer before any packets can reach your internal services.
- You can make things even harder by incorporating conditional access policies as a part of the pre-authentication with your IDP.
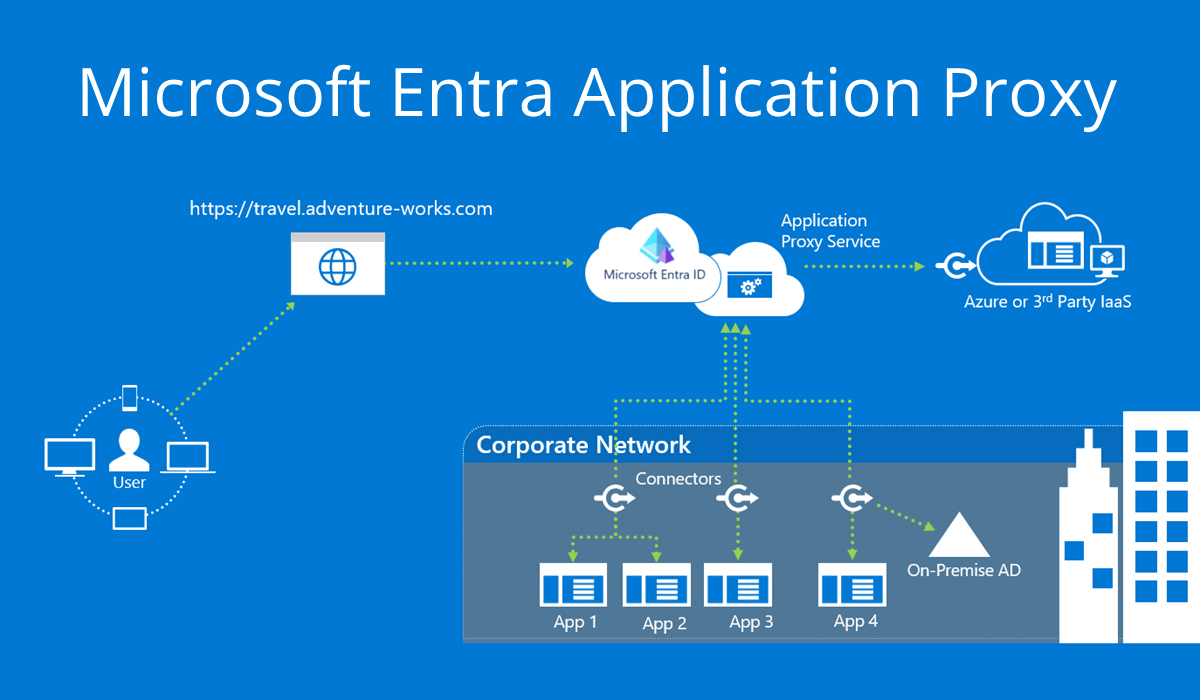
However, if your DNS is not managed by Cloudflare or if you prefer not to incur the costs associated with ngrok, a less common option to consider is Microsoft's Entra Application Proxy.
Entra Application Proxy Setup Steps (May 2024)
Entra Application Proxy has two primary requirements:
- Entra ID Plan 1, which is included in Microsoft 365 Business Premium, Enterprise E3, and E5 subscriptions.
- A Windows host to run the Entra Application Proxy Service.
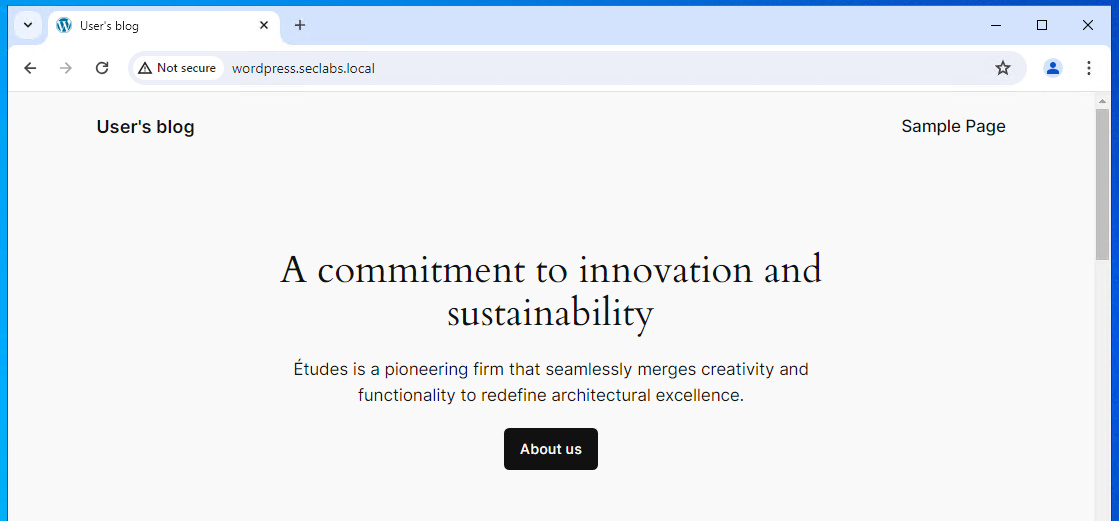
To demonstrate the functionality, in today's blog we'll work on exposing an internally accessible WordPress instance to the internet using the Entra Application Proxy whilst requiring pre-authentication.
Install the Connector Service
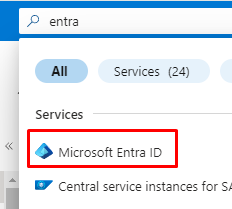
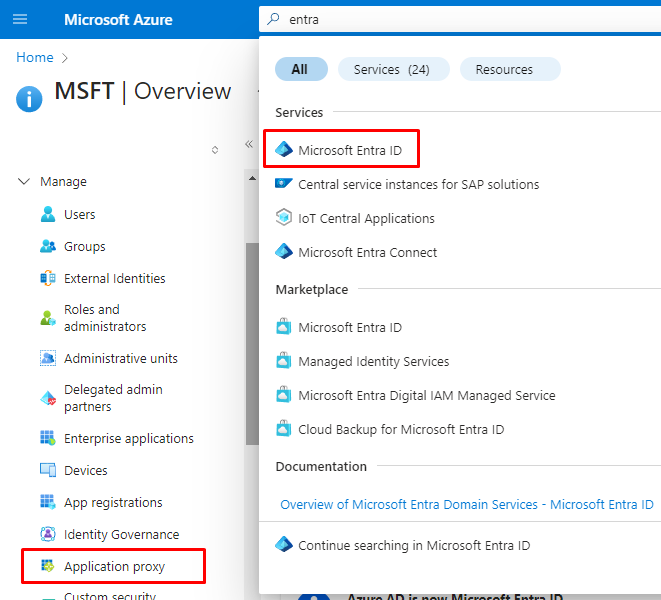
Search for Entra ID in the Azure Portal.
Click application proxy under 'Manage'.
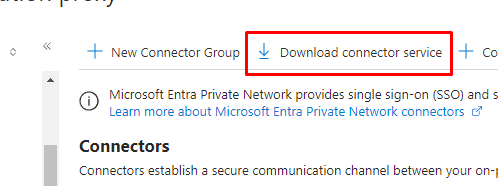
Download the connector service, and install it on the Windows host that will serve as the proxy host.
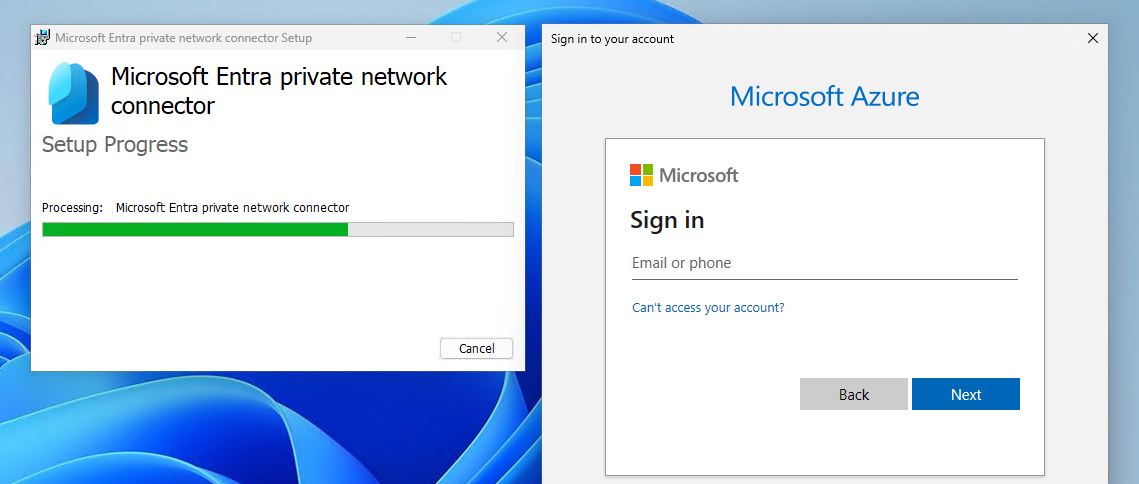
Upon installation you'll be forced to sign in to the Entra tenant.
Once the installation is complete, you should see your connector listed in the Azure portal as an active connector. I created a connector group but it's not required.
Configure the Application Proxy
Before configuring the application proxy, first validate that you can reach the internal application that you wish to expose.
NOTE: Entra application proxy will require the internal URL to be a FQDN rather than an IP address so you'll need to setup an internal DNS entry for the application.
Click configure an app.

Fill out the required fields, click create and we're mostly done! Take note of the pre-authentication setting.

SSO Settings and Access
After creation, if you try browsing directly to the External URL you'll be greeted with a sign in screen followed by error AADSTS50105. This can be resolved by assigning our user to the Enterprise Application or removing the assignment requirement.

Search for Enterprise Applications and find the application we created.
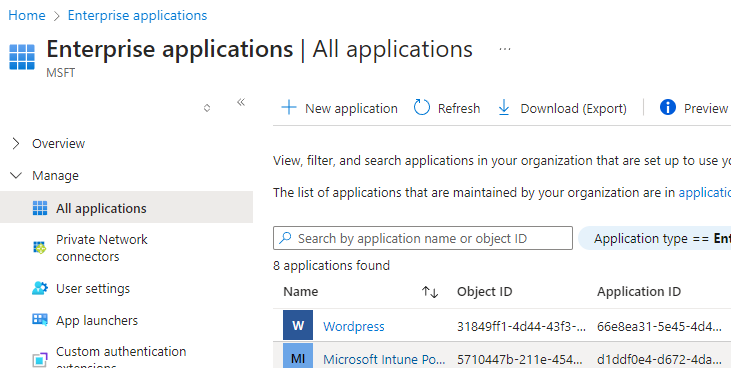
Add our user to the application.

If we try to browse again to the External URL we should be greeted by our internal application! 🎉

BONUS: If you're a System Administrator doing this for your organisation, end users can get directly there by going to the 'My Apps' screen without having to bookmark a specific FQDN.

Troubleshooting - URL Rewriting
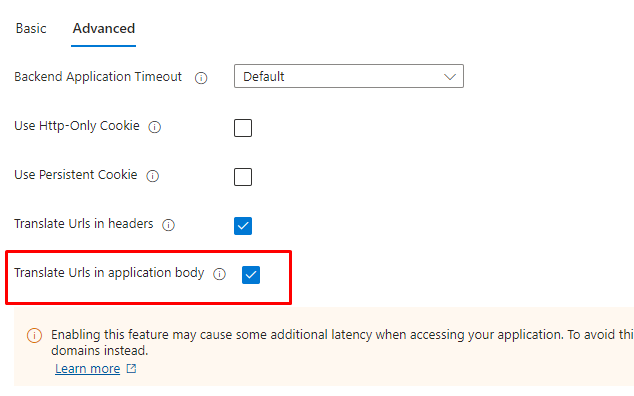
Like any reverse proxy solution, if you can load the web page but it appears unstyled, it's likely that assets in the response body need to have their URL domains rewritten. Entra Application Proxy includes an advanced option in the settings to translate URLs in the application body, which can be used to address this issue.
Alternatively, you can reconfigure the application to present URLs that match the Entra Application Proxy's external domain.
