Importing Pre-made Kali VMware VM into ESXi
The Kali prebuilt VMware VM is built for VMware Workstation but can still be imported directly into vSphere/ESXi environments with a few extra steps.

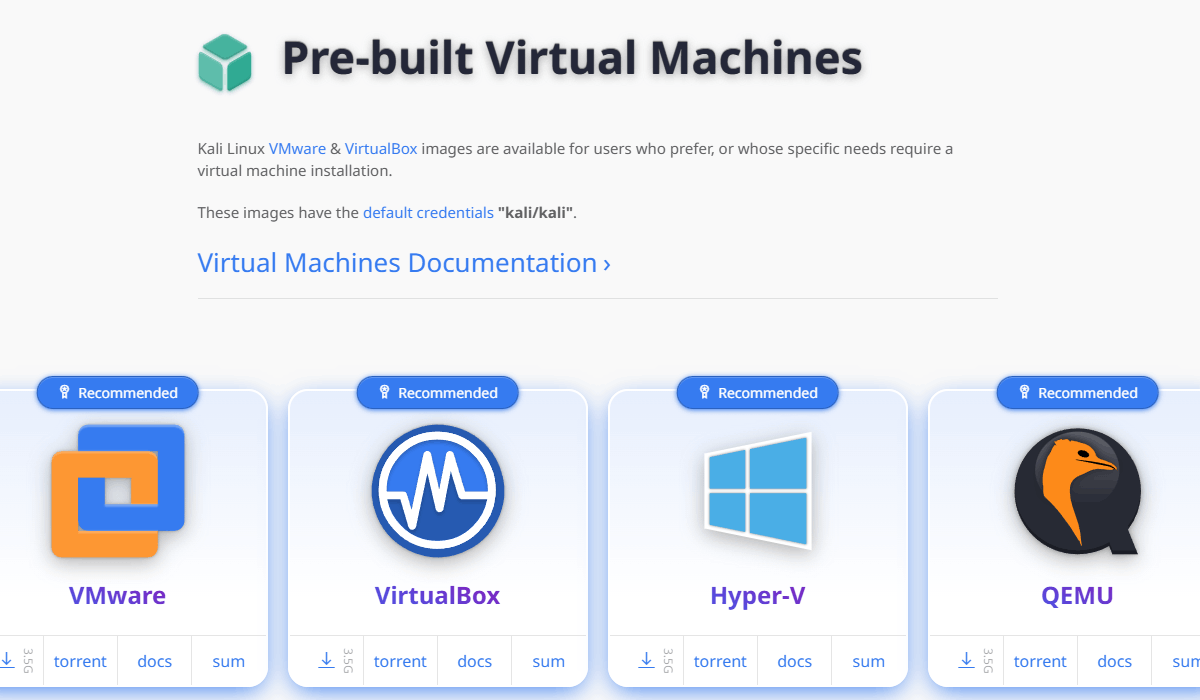
Download the VM
Pre-built VMs can be downloaded here.
Obtain the VMware pre-built VM. Trying to import this directly into a vSphere environment will fail as the VM is intended for VMware Workstation.
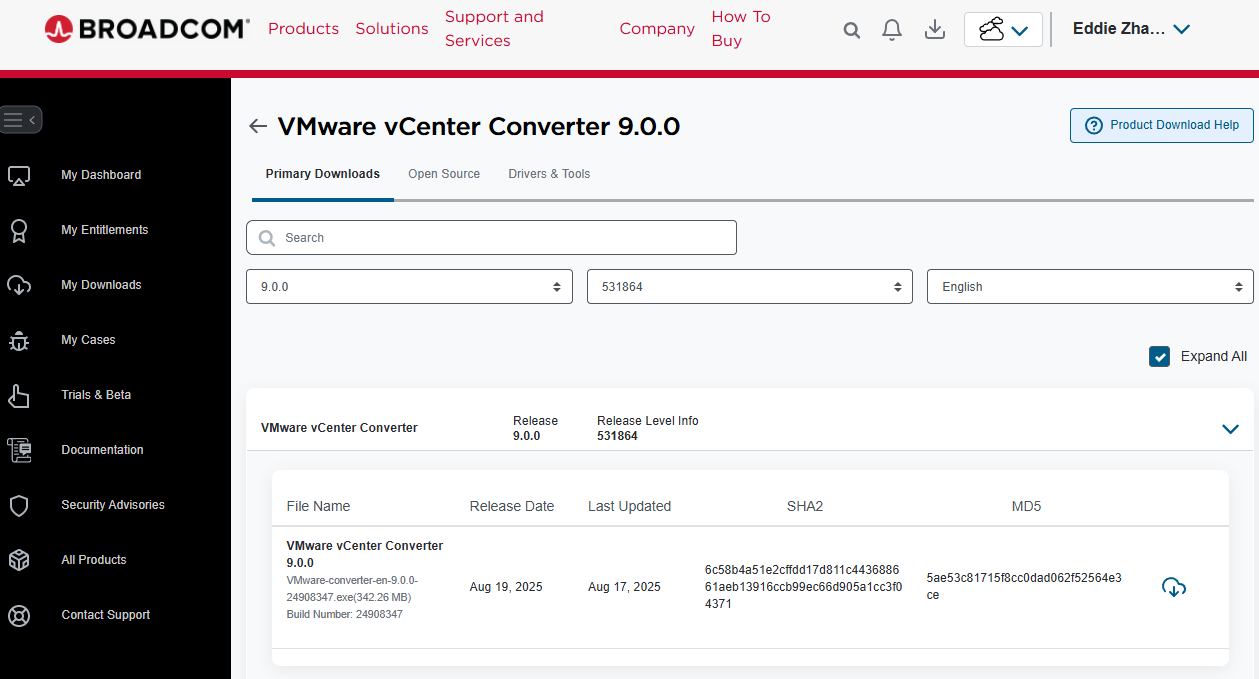
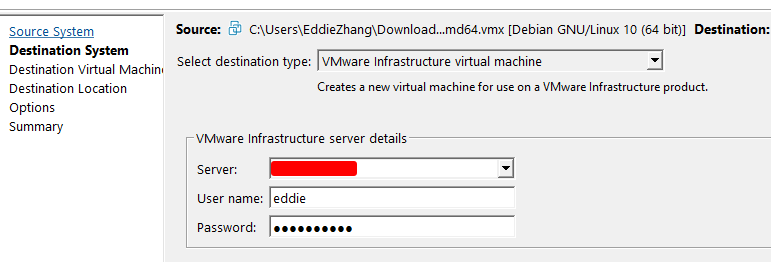
Option 1: VMware vCenter Converter
This is the easier option however will require you to install VMware vCenter Converter and have network connectivity to the target ESXi/vCenter host.
The software can be downloaded for free in the Broadcom portal after registering an account.
After launching the software select Convert machine:
- Select Powered off - VMWare Workstation
- Select the VMX file after having extracted the 7zip archive
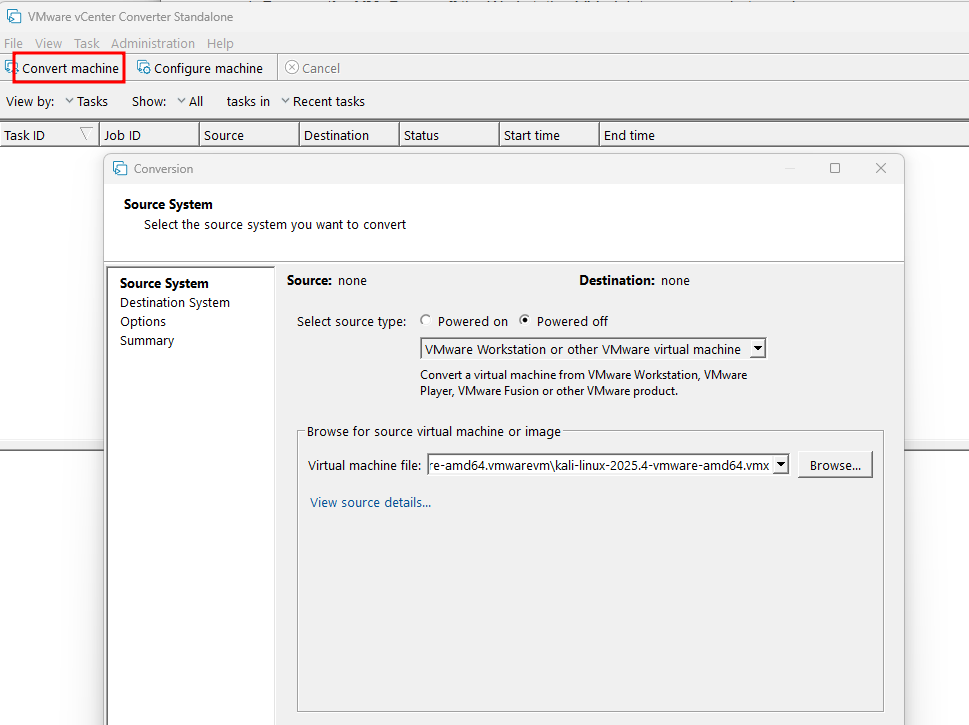
The remaining steps are fairly self explanatory.

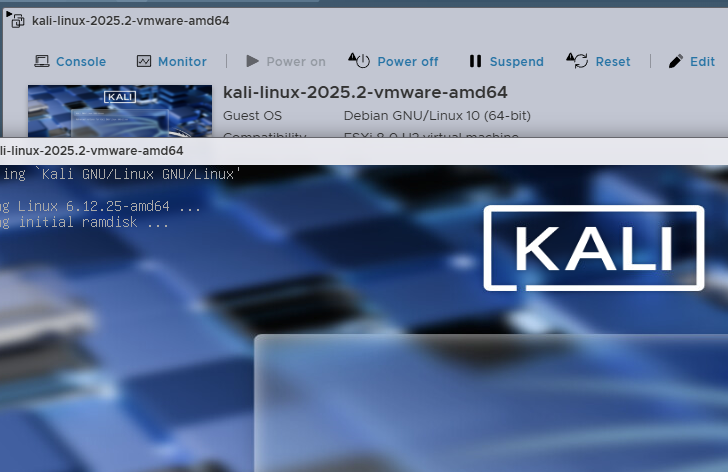
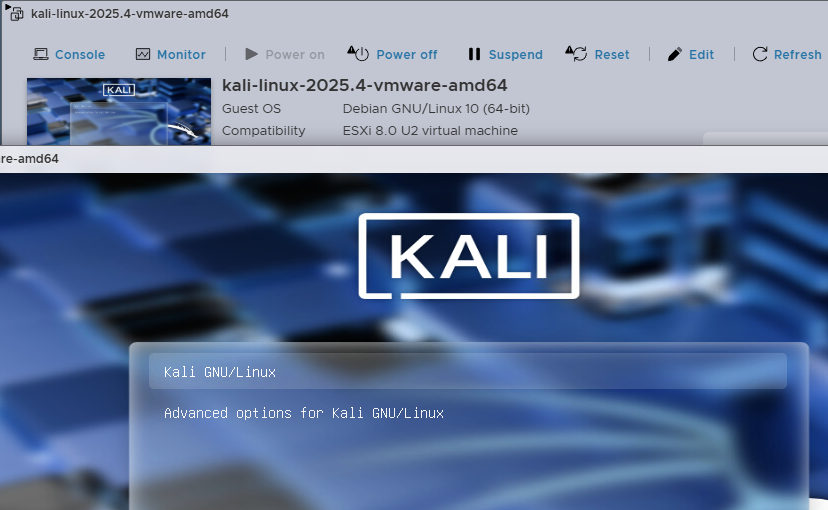
After the process is complete the VM now appears and can be booted.
Option 2: Upload Straight to ESXi/vSphere and Convert on Host
The second option is more involved however it doesn't require you to install anything locally.
In a nut shell you will need to:
- Upload all files directly to a datastore accessible to the VM host (for ESXi this is easiest via SSH).
- Register the VM and Upgrade the VM version.
- Convert the underlying VMDK file.
Upload the VM to the Datastore
Create a folder on your target data store and copy all the extracted files to the datastore.
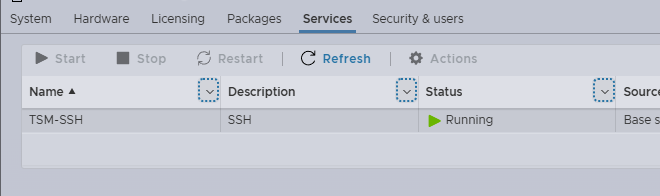
On ESXi, it's easier to do this using SCP as the Web UI only permits selecting individual files to upload.
On VCenter managed hosts there's an Upload Folder button you can use instead.
# Powershell has SSH and SCP built-in. We can navigate to the extracted directory and copy all 40 odd files directly to the datastore.
C:\Users\EddieZhang\Downloads\kali-linux-2025.2-vmware-amd64.vmwarevm> scp * [email protected]:/vmfs/volumes/nvme1/kali/
You'll need SSH enabled if you're using SCP.
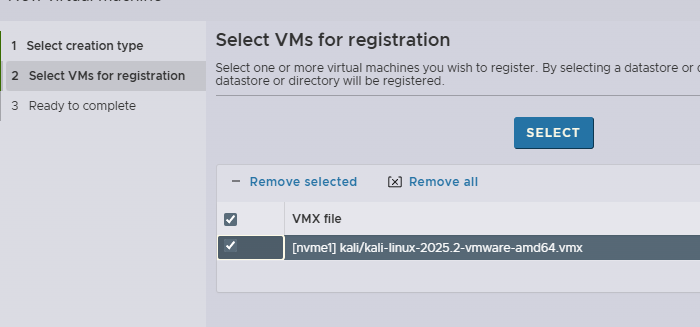
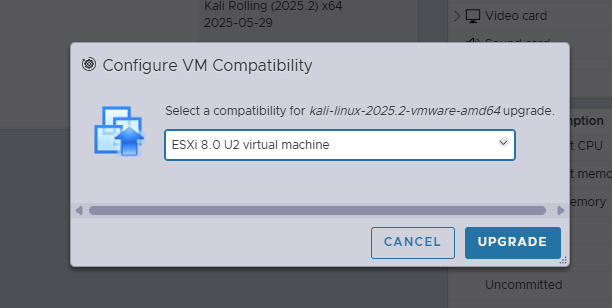
Register and Upgrade
Register the VM and upgrade it.
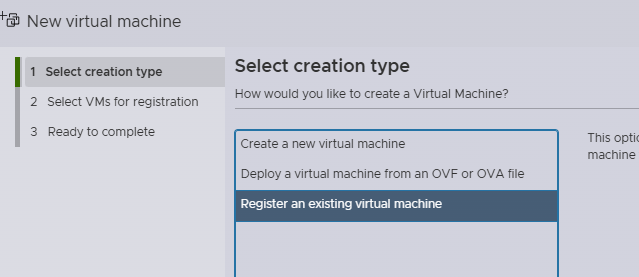
Select the VMX file from your datastore.
Upgrade the VM.
Convert VMDK
Finally connect to the target host over SSH and find the VMDK on the datastore to convert it.
# Rename the VMDK
[root@esxi:/vmfs/volumes/GUID/kali] mv kali-linux-2025.2-vmware-amd64.vmdk OLD.vmdk
# Convert it back to the original file name
[root@esxi:/vmfs/volumes/GUID/kali] vmkfstools -i OLD.vmdk kali-linux-2025.2-vmware-amd64.vmdk
Destination disk format: VMFS zeroedthick
Cloning disk 'OLD.vmdk'...
Clone: 100% done.
Boot the VM!